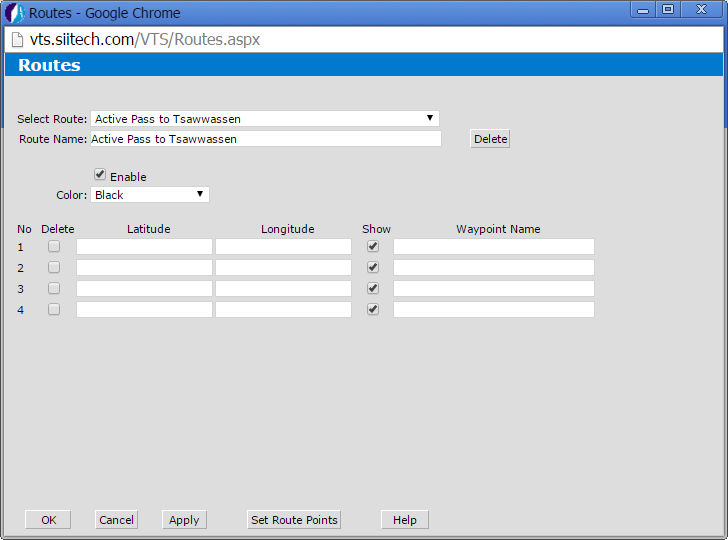
 to open the Route Designer window.
To add waypoints, click the Set Route
Points button. You will be redirected to the map view.
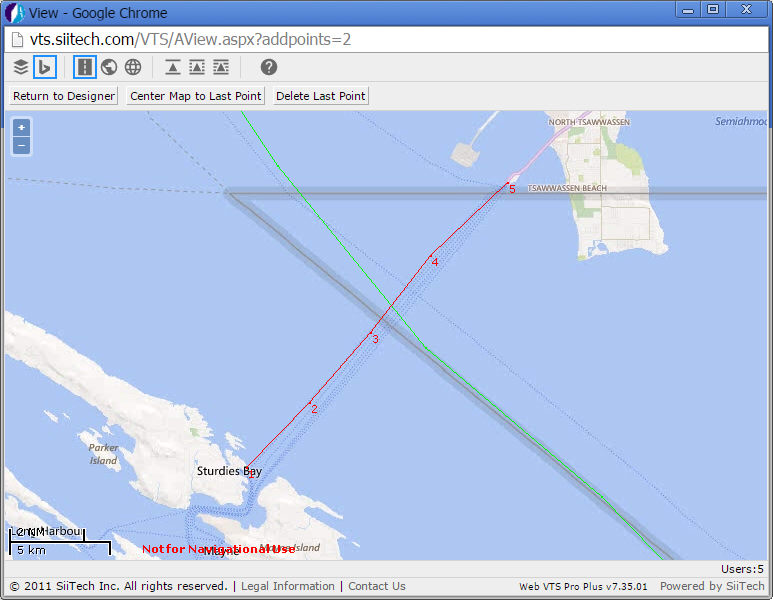
Draw the route by clicking consecutively in the direction you wish to go, with evenly spaced intervals between every click. A new number will appear beside each point on the map that you have just clicked.
Click the Return to Designer button to go back to the Route Designer window.
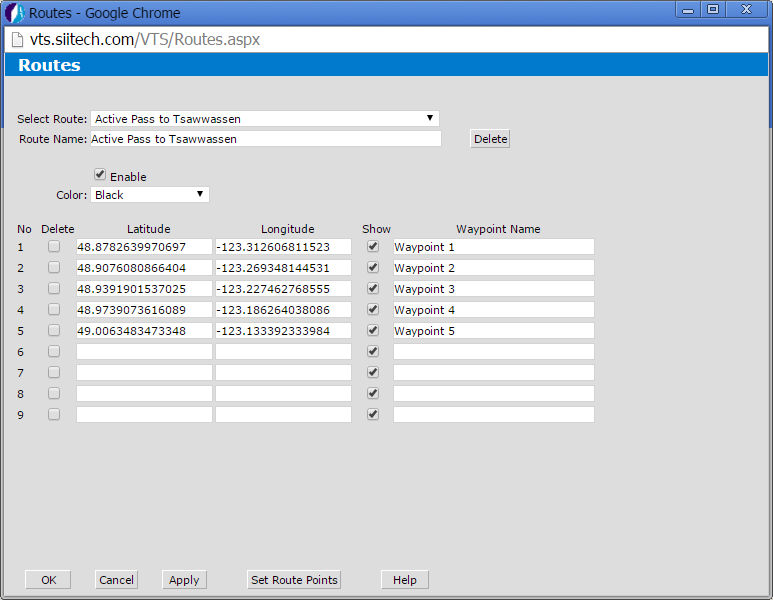
Type "Waypoint 1-5" in the Waypoint Name field(s).
Note: Clearing any Show
checkbox will omit this unchecked waypoint from the map view.
To improve accuracy, you can zoom in on the map view and build a route
with numerous waypoints in close proximity to one another.
In that case, it is not necessary to monitor every single waypoint or show
all points on the map in order to obtain an ETA.
You can check the box beside the points you consider necessary to monitor,
and uncheck the rest of the points that you would like to hide.
Click the Apply button to save changes and keep the Route Designer open, or click OK to save changes and return to the main view.
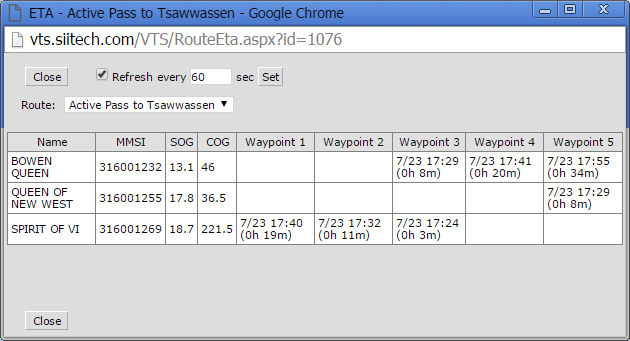
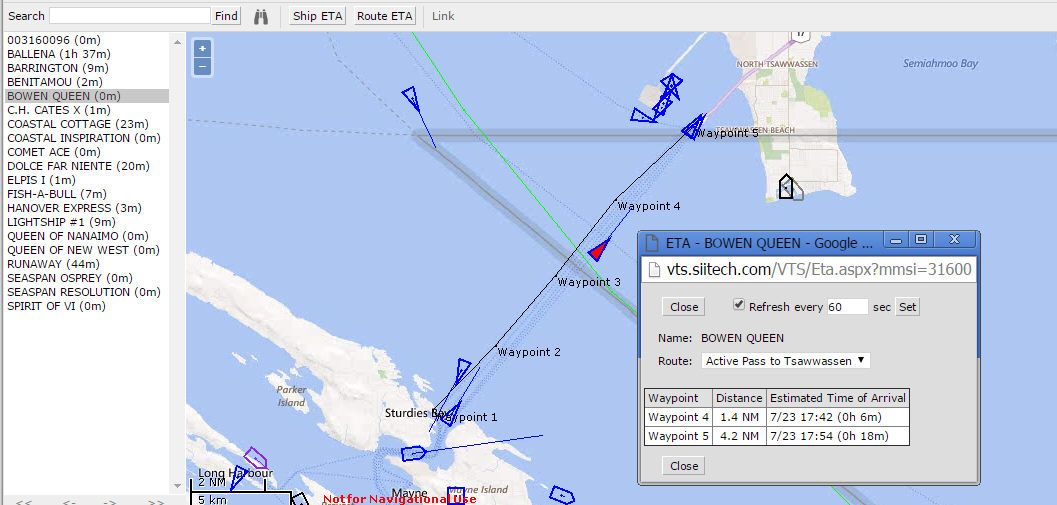
Click on the Route ETA button in the toolbar to open a new ETA window. The expected length of time until each ship reaches the next point in its trajectory is displayed under the waypoint columns. You can set a time for the ETA window to refresh automatically if you choose to leave this window open. To track an indvidual ship's ETA, click on a ship to select it, and then click the Ship ETA button in the toolbar.
In this example, we have clicked on the BOWEN QUEEN. A pop-up will appear, reporting the ETA and distance to the next waypoint(s) for the selected ship only.